
 Your materials: long-sleeved t-shirt, shears, disappearing pen, needle and matching thread, differently sized circles for tracing.
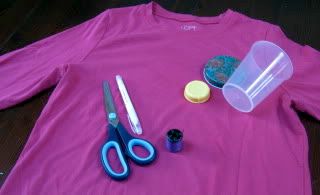 Step 1: Cut off the sleeves to your shirt. I like a cute cap sleeve; you might want to use a shirt that has sleeves you like to help you decide where to cut. I just eyeballed it, then lined up the first cut sleeve on top of the second to make sure they'd match.
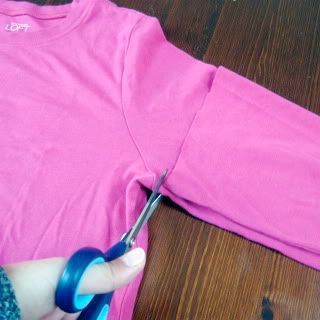 Step 2: Trace your circles using disappearing ink onto your cut-off sleeves. I traced each size twice, then stacked the sleeves and cut through all 4 layers at one, ending with 8 circles of each of the 3 sizes.
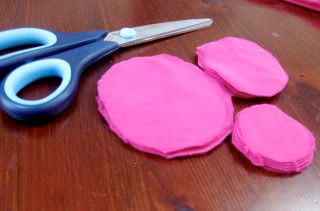 Step 3: Layer your circles from smallest to biggest. Notice how messy my cuts are? It doesn't matter one bit!
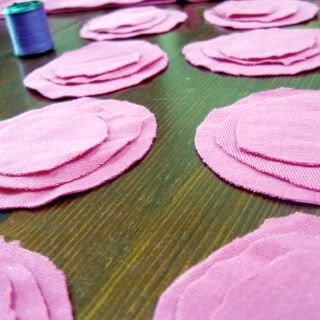 Step 4 (optional): Make a hat for a cute baby from the remainder of the cut off sleeve. Get totally distracted from project and admire cute baby in cute hat...
 Step 5: Find a shirt with a neckline that you like--square, boat, and v-neck all work well. Line up the shoulder seams and trace the neckline onto your t-shirt, then cut it off.
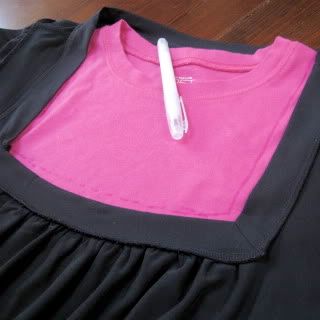 Step 6: Realize other baby needs his hat.
 Step 7: Pick up a stack of circles and pinch through all 3 layers, then secure with a few tight stitches, and tie a knot.
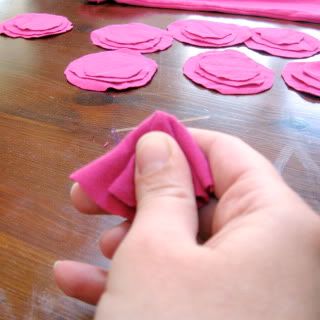 Here's the back...
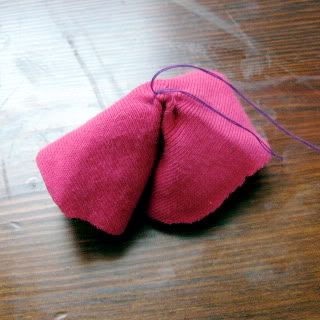 ...and the front:
 Repeat with remaining stacks:
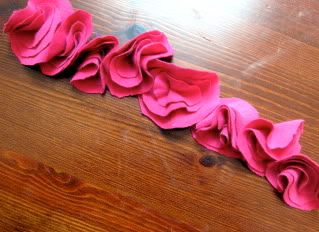 Step 8: Arrange on your t-shirt until you like the design. I ended up sewing the flowers on straight across instead. You can see that I sewed the cut edges of the sleeves and neckline with a zig-zag stitch. Not necessary, but cute nonetheless.
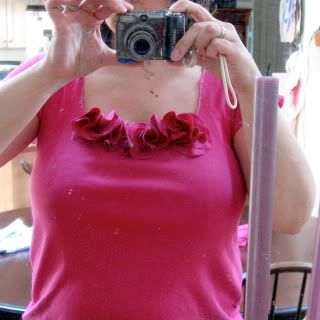
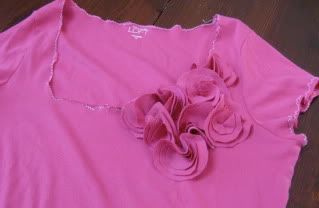 Here's the completed shirt--
 And another I made the same way:
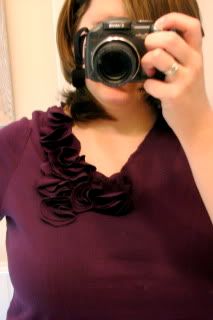 Here is the tutorial that inspired me, and here's a recent tutorial at HeyJenRenee.
Let me know if you have questions!


